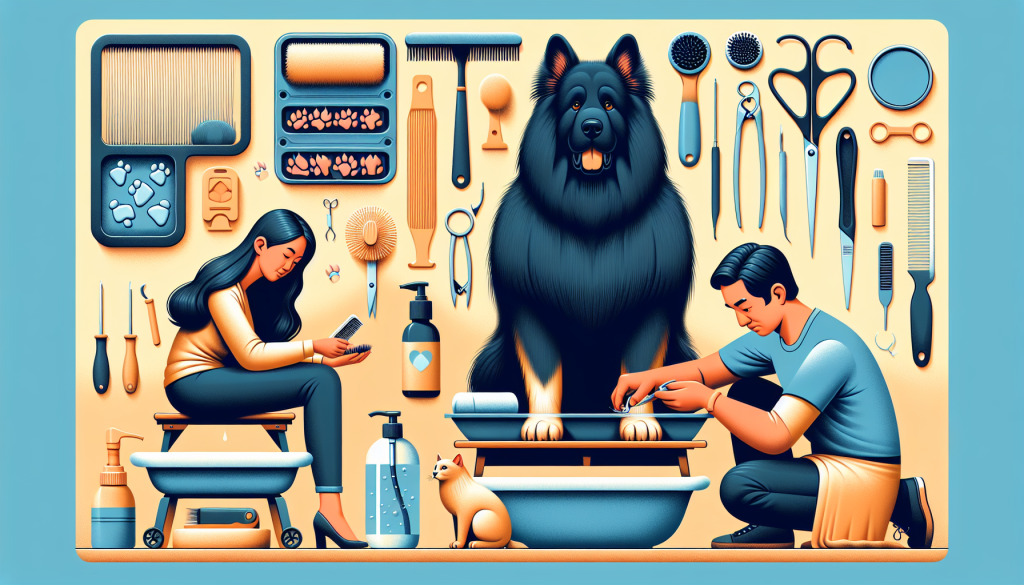
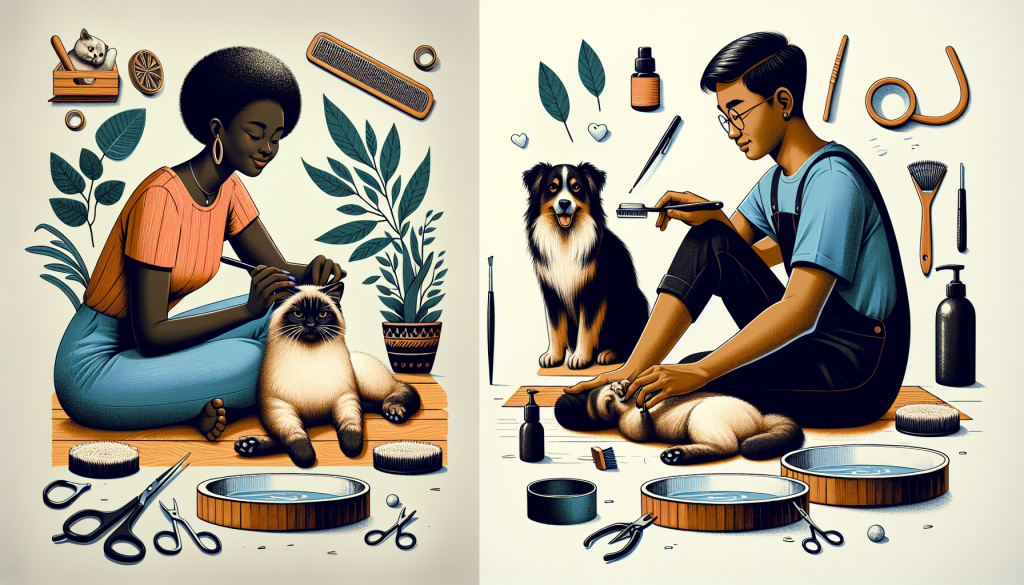
Are you tired of spending a fortune on professional pet grooming services? Look no further! In this beginner’s guide to DIY pet grooming, you will find simple and effective tips to keep your furry friends looking their best. From bathing and brushing to nail trimming and ear cleaning, we’ve got you covered. You don’t have to be an expert to transform your pet into a pampered prince or princess. With a little patience and a lot of love, you’ll soon become a pro at grooming your beloved furball. So grab your grooming tools and let’s get started!
Table of Contents
Toggle1. Basic Pet Grooming Tools
Grooming your pet is an essential part of their overall health and well-being. To get started with DIY pet grooming, it’s important to have the right tools on hand. Here are the basic grooming tools you’ll need:
1.1 Brush
A good quality brush is essential for maintaining your pet’s coat. Different types of brushes are suitable for different breeds and coat types. For example, a slicker brush is great for removing loose hair and detangling mats, while a bristle brush is ideal for daily brushing and distributing natural oils throughout the coat. Choose a brush that is appropriate for your pet’s specific needs.
1.2 Comb
A comb is another indispensable tool for pet grooming. It helps to remove tangles and mats and ensures that the coat is free from any knots. Make sure to choose a comb with rounded teeth to prevent scratching your pet’s skin.
1.3 Nail Clippers
Trimming your pet’s nails is important for their comfort and safety. Long nails can cause discomfort and even lead to injuries. Invest in a pair of nail clippers that are specifically designed for pets. Look for clippers with sharp blades and a safety guard to avoid accidentally cutting the quick, which can cause bleeding and pain.
2. Pre-Grooming Preparation
Before diving into the grooming process, it’s important to prepare your pet properly. This involves a few essential steps to ensure a smooth and stress-free grooming experience.
2.1 Bathing
Bathing your pet is an important part of the grooming routine. Start by gathering all the necessary supplies, including pet-friendly shampoo, towels, and a non-slip mat for the bathtub. Make sure the water is warm but not hot, as pets are more sensitive to temperature than humans. Wet your pet thoroughly, applying the shampoo and lathering it well. Rinse off all the shampoo and gently towel-dry your pet.
2.2 Brushing
Brushing your pet’s coat before bathing helps to remove any loose hairs and tangles. This prevents mats from getting worse during the bath and makes the shampooing process more effective. Use a brush appropriate for your pet’s coat type and gently brush through their fur, paying extra attention to areas prone to tangling, such as behind the ears and under the belly.
2.3 Nail Trimming
Nail trimming is best done before bathing to prevent your pet from slipping and hurting themselves in the bathtub. Make sure your pet is calm and relaxed before attempting to trim their nails. Take your time and be cautious not to cut too close to the quick. If you’re unsure, it’s better to trim a little at a time. Reward your pet with treats and positive reinforcement to make the experience more enjoyable for them.
3. Brushing Your Pet’s Coat
Regular brushing is essential for maintaining your pet’s coat and preventing tangles and mats. Here are some key tips for brushing your pet’s coat effectively:
3.1 Choosing the Right Brush
Selecting the right brush for your pet’s coat type is crucial. Long-haired breeds may require a slicker brush or a comb with long teeth, while short-haired breeds may benefit from a bristle brush. If your pet has a double coat, consider using an undercoat rake to remove loose hairs and prevent matting.
3.2 Brushing Techniques
Start by brushing your pet’s coat in the direction of hair growth. This helps to remove loose hairs and distribute natural oils. Use gentle strokes and avoid pulling or tugging on any tangles or mats. If you encounter a particularly stubborn tangle, use your fingers or a comb to gently work it out. Be patient and take breaks if your pet becomes uncomfortable or anxious.
3.3 Dealing with Tangles and Mats
If you come across tangles or mats in your pet’s coat, it’s important to address them promptly. Use a comb or dematting tool to carefully loosen the tangles, starting at the edge and working your way inward. Avoid cutting through the mat, as this can cause pain and discomfort for your pet. If the mat is too severe to remove at home, it’s best to seek professional grooming assistance.
4. Bathing Your Pet
Bathing your pet not only keeps them smelling fresh but also helps to maintain a healthy coat and skin. Follow these steps for a successful and enjoyable bathing experience for both you and your pet:
4.1 Choosing the Right Shampoo
Selecting a shampoo specifically formulated for pets is essential, as human shampoos can be too harsh and strip away the natural oils from their coats. Choose a shampoo that is suitable for your pet’s skin type and any specific needs they may have, such as hypoallergenic or medicated shampoos. Avoid getting shampoo in your pet’s eyes, ears, or mouth, as it can cause irritation.
4.2 Bathing Techniques
Before starting the bath, ensure that you have all the necessary supplies within reach. This includes shampoo, towels, a non-slip mat, and a handheld showerhead or pitcher for rinsing. Wet your pet thoroughly, starting from the neck and working your way down. Apply the shampoo and lather it well, paying extra attention to areas prone to dirt and odor, such as the underarms and feet. Rinse off all the shampoo thoroughly, making sure there are no residual suds left on your pet’s skin.
4.3 Drying Your Pet
After bathing, gently towel-dry your pet to remove excess water. Avoid using a hairdryer, as the noise and heat can be distressing for some pets. If your pet has a long coat that tends to tangle, use a slicker brush to gently remove any tangles while they are still damp. Allow your pet to air dry in a warm and comfortable environment, making sure they are completely dry before letting them outside or going to bed.
5. Trimming Your Pet’s Nails
Regular nail trimming is important for your pet’s comfort and overall health. Here’s how to safely trim your pet’s nails:
5.1 Trimming Tools
Invest in a pair of high-quality nail clippers that are designed specifically for pets. There are different types available, including guillotine-style clippers and scissor-style clippers. Choose the one that you find most comfortable to handle. Additionally, keep styptic powder or cornstarch on hand to stop any bleeding in case you accidentally cut into the quick.
5.2 Nail Trimming Techniques
Start by getting your pet accustomed to having their paws touched and handled. Offer treats and positive reinforcement to make the experience more enjoyable. Hold your pet’s paw securely, making sure not to squeeze too tightly. Trim small amounts of the nail at a time, avoiding the quick, which is the sensitive blood vessel inside the nail. If your pet has black nails and it’s difficult to see the quick, trim small slivers at a time until you see a grayish-pink oval in the center of the freshly trimmed nail.
5.3 Dealing with Overgrown Nails
If your pet’s nails have become overgrown, be cautious when trimming them to avoid cutting into the quick. Overgrown nails can be more challenging to trim, so it’s best to seek professional help if you’re unsure. Long nails can cause discomfort and affect your pet’s gait, so regular trimming is essential to keep them healthy and happy.
6. Cleaning Your Pet’s Ears
Ear cleaning is an important part of pet grooming, especially for breeds prone to ear infections. Follow these steps to clean your pet’s ears safely and effectively:
6.1 Ear Cleaning Tools
Invest in a pet-friendly ear cleaning solution that is specifically formulated for dogs or cats, depending on your pet’s species. You’ll also need cotton balls or pads and tweezers with rounded tips to remove any visible debris or earwax. Never use cotton swabs or insert anything deep into your pet’s ear canal, as this can cause injury or push debris further into the ear.
6.2 Ear Cleaning Techniques
Start by gently restraining your pet and offering treats to keep them calm during the process. Squeeze a few drops of the ear cleaning solution into your pet’s ear, following the instructions on the bottle. Massage the base of the ear to distribute the solution and loosen any dirt or wax. Use a cotton ball or pad to wipe away the loosened debris from the visible part of the ear. If you notice any redness, swelling, or a foul odor, consult your veterinarian as it may indicate an infection.
6.3 Recognizing Ear Problems
Regular ear cleaning helps to prevent ear infections and keeps your pet’s ears healthy. However, it’s important to be aware of the signs of ear problems. If your pet displays symptoms such as excessive scratching, head shaking, discharge, foul odor, or sensitivity when their ears are touched, it’s crucial to seek veterinary care. Ear infections can be painful and may require medication to treat effectively.
7. Brushing Your Pet’s Teeth
Proper dental care is essential for your pet’s overall health. Regular brushing helps to prevent dental diseases and keeps your pet’s teeth and gums in good condition. Here’s how to brush your pet’s teeth effectively:
7.1 Toothbrush and Toothpaste
Invest in a toothbrush specifically designed for pets, as well as pet-friendly toothpaste. Human toothpaste can be toxic to animals, so never use it for your pet. Choose a toothpaste with a flavor that your pet enjoys, such as poultry or seafood. Introduce the toothbrush and toothpaste gradually, allowing your pet to sniff and taste them before starting the brushing process.
7.2 Toothbrushing Techniques
Start by lifting your pet’s upper lip and gently brushing the outside surfaces of their teeth in a circular motion. Focus on the gum line, as this is where plaque and tartar tend to accumulate. Gradually introduce the toothbrush to the inside surfaces of the teeth as well. Be patient and take breaks if your pet becomes anxious or uncomfortable. Aim to brush your pet’s teeth at least two to three times a week for optimal dental hygiene.
7.3 Dental Care Tips
In addition to regular brushing, there are other steps you can take to promote good dental health for your pet. Offer dental chews or treats that are specifically designed to clean your pet’s teeth and gums. Provide them with appropriate toys that encourage chewing, as this helps to remove plaque and tartar buildup. Regular veterinary dental check-ups are also important to monitor your pet’s oral health and address any issues promptly.
8. Handling and Restraint Techniques
Handling and restraining your pet properly during grooming sessions is essential for both their safety and your own. Follow these tips for successful handling and restraint:
8.1 Building Trust with Your Pet
Developing a trusting relationship with your pet is crucial for successful grooming. Start by introducing grooming tools gradually, allowing your pet to sniff and become familiar with them. Offer treats and positive reinforcement whenever your pet displays calm and relaxed behavior during grooming. Patience and gentle handling go a long way in building trust and making your pet feel comfortable during the grooming process.
8.2 Proper Restraint Methods
Different pets require different levels of restraint during grooming. Some may be comfortable sitting on a grooming table or in your lap, while others may require a more secure restraint method such as a grooming harness or muzzle. It’s important to choose a method that is appropriate for your pet’s temperament and comfort level. If you’re unsure, consult a professional groomer or your veterinarian for guidance on the best restraint techniques for your pet.
8.3 Dealing with Difficult Pets
Some pets may be more challenging to groom due to anxiety, fear, or past trauma. In such cases, it’s important to remain calm and patient. Consider desensitization techniques, where you gradually expose your pet to grooming tools and activities in a positive and controlled manner. You may also want to enlist the help of a professional groomer or a veterinary behaviorist to assist you in developing a customized grooming plan for your pet’s specific needs.
9. Grooming Different Types of Pets
Each type of pet has specific grooming needs and requirements. Here are some tips for grooming different types of pets:
9.1 Grooming Dogs
Dogs come in various breeds and coat types, ranging from short-haired to long-haired, and from smooth coats to curly or wiry coats. Research your specific breed to understand their grooming needs, including how often they need to be brushed, bathed, and groomed. Some long-haired breeds may require professional grooming to maintain their coats, while short-haired breeds may only require regular brushing. Additionally, consider the specific health needs of your dog, such as regular ear cleaning and dental care.
9.2 Grooming Cats
Cats are generally good self-groomers and require minimal grooming from their owners. However, long-haired breeds may need regular brushing to prevent matting and hairballs. Use a brush specifically designed for cats and start the grooming process gradually to ensure your cat feels comfortable. Avoid using harsh grooming techniques or restraining your cat too tightly, as they can become agitated and stressed. If you’re unsure about grooming your cat, consult a professional groomer or your veterinarian for guidance.
9.3 Grooming Rabbits
Rabbits have specific grooming needs, especially for their coat and nails. Regular brushing helps to remove loose hair and prevent tangling. Use a soft-bristled brush or a grooming glove to gently brush your rabbit’s fur in the direction of hair growth. Be cautious around sensitive areas such as the ears and tail. Additionally, rabbits’ nails grow continuously and may require regular trimming. Consult a veterinarian or a rabbit-savvy groomer for guidance on safely trimming your rabbit’s nails.
10. Safety Precautions and First Aid
When grooming your pet, it’s important to prioritize their safety and be prepared for any potential accidents or injuries. Here are some safety precautions and first aid tips to keep in mind:
10.1 Pet Grooming Safety Tips
- Always use pet-friendly products and tools designed specifically for grooming.
- Never leave your pet unattended during grooming sessions, especially on a raised table or in the bathtub.
- Keep sharp tools such as nail clippers and scissors out of the reach of children and pets.
- Use caution when trimming nails or any sensitive areas such as the ears, eyes, and paw pads.
- Be aware of your pet’s body language and signs of discomfort, and adjust your grooming techniques accordingly.
- Take breaks if either you or your pet becomes stressed or fatigued.
10.2 Recognizing Common Injuries
Some common grooming injuries and accidents include cuts from sharp tools, accidental nail quick cuts, and burns from hairdryers or hot water. It’s important to be vigilant and recognize these injuries promptly. Look out for bleeding, swelling, limping, excessive licking, or any signs of pain or distress. If you notice any concerning symptoms, consult your veterinarian for further evaluation and treatment.
10.3 First Aid for Grooming Accidents
In case of minor injuries such as small cuts or bleeding from nail quick cuts, clean the area gently with warm water and apply a pet-safe antiseptic. Use styptic powder or cornstarch to stop any bleeding. If the injury is severe, such as a deep cut or a burn, seek veterinary attention immediately. It’s important to have a pet first aid kit on hand that includes essential items such as bandages, antiseptic solutions, and emergency contact numbers.
Grooming your pet at home can be a rewarding and bonding experience. By following these tips and techniques, you can ensure that your pet looks and feels their best while maintaining their overall health and well-being. Remember to always prioritize their comfort and safety, and don’t hesitate to seek professional help if needed. With a little practice and patience, you’ll become a confident DIY pet groomer in no time!


